Using Camera Flash for Proper Exposure and Lighting Control
During photography sessions, photographers often encounter situations where more light is required than what is naturally available. Depending on the camera system, several types of flash units can be used. The primary requirement is compatibility with the camera system so the flash can be properly connected and synchronized.
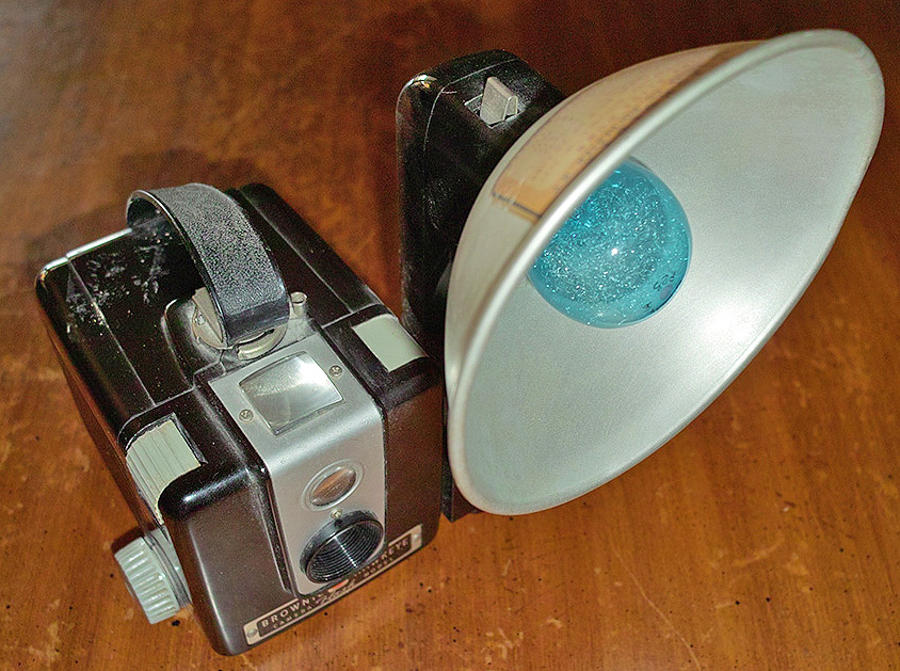
External flash units generally provide significantly more power than built-in camera flashes. Another advantage of many external flashes is the adjustable flash head, which allows the photographer to redirect the light toward another surface such as a wall or ceiling. This technique can help modify the quality and direction of the illumination.
Guide Number and Flash Power
The power of a flash unit is indicated by its Guide Number (GN). Manufacturers typically specify this value using a 50 mm lens at ISO 100 film sensitivity. The higher the guide number, the stronger the flash output.
Higher-quality flash units usually have guide numbers between 32 and 50, while the built-in flashes of many digital cameras typically have guide numbers between 10 and 14.
Modern system flashes can automatically determine the correct exposure time. In Program mode (“P”), the camera handles these calculations automatically. In Manual mode (“M”), however, photographers can determine the correct aperture setting themselves using the guide number and the subject distance. The calculation is straightforward: divide the guide number by the distance to the subject. The result provides the appropriate aperture value for proper exposure.
Using Flash in Different Lighting Conditions
A flash is almost an essential accessory for a camera. While many photographers associate flash photography with dark environments or low-light situations, flash can also improve image quality in bright daylight.
For example, when photographing portraits in daylight, strong sunlight may create harsh shadows on the subject’s face. In such cases, a flash—either built-in or external—can be used as fill light. Fill flash reduces the intensity of shadows and can even eliminate them entirely. It also softens harsh lighting conditions caused by strong direct sunlight.
Flash Synchronization and Shutter Speed
Every camera has a specific flash synchronization speed, which is indicated either on the shutter speed dial or in the camera manual. The shorter this synchronization time, the greater the creative flexibility available to the photographer.
Photography is not limited strictly to the sync speed; longer shutter speeds can also be used. In such cases, the flash fires during the exposure while the shutter remains open for the remainder of the selected shutter time. This technique is known as slow flash synchronization.
Another option is second-curtain synchronization, where the flash fires just before the exposure ends. This method is often used when photographing moving subjects because it produces more natural-looking motion trails.
Choosing a Camera with Flash Expansion Options
When purchasing a new camera, it is worth considering whether the system allows the use of an external flash in the future. Even in the lower-mid price categories, manufacturers offer digital compact or bridge cameras equipped with a hot shoe for attaching external flash units.
If the decision comes down to two cameras with similar price-to-performance ratios, choosing the model that supports an external flash can be beneficial. Even if flash photography is not currently a priority, having the option available may prove valuable later as photographic needs evolve.